
Page Tiles Print a poster on multiple pages
Print a Poster on Multiple Pages at Home
An A2- or A1-sized poster can be divided across ordinary A4 or Letter sheets. Overlap prevents gaps between the pieces, although the seams remain visible up close.
Poster sizes and the sheets they need
These are the counts Page Tiles picks with its defaults: 1 cm margins, 10 mm overlap and Auto orientation, for a picture the same shape as the poster. Columns × rows, then the sheet orientation.
| Poster | Size | On A4 | On Letter |
|---|---|---|---|
| A3 | 29.7 × 42 cm | 2 × 2 portrait (4) | 2 × 2 portrait (4) |
| A2 | 42 × 59.4 cm | 2 × 4 landscape (8) | 2 × 4 landscape (8) |
| 18 × 24 in | 45.7 × 61 cm | 2 × 4 landscape (8) | 2 × 4 landscape (8) |
| A1 | 59.4 × 84.1 cm | 3 × 5 landscape (15) | 3 × 5 landscape (15) |
| 24 × 36 in | 61 × 91.4 cm | 4 × 4 portrait (16) | 3 × 5 landscape (15) |
Portrait sheets would need 9 for A2 and 16 for A1. Auto orientation tries both and keeps the one with fewer sheets, which is why several rows above use landscape paper. The poster size calculator shows the count for your own picture.
If your printer takes A3, a poster needs roughly half as many sheets and half the seams.
How to print it
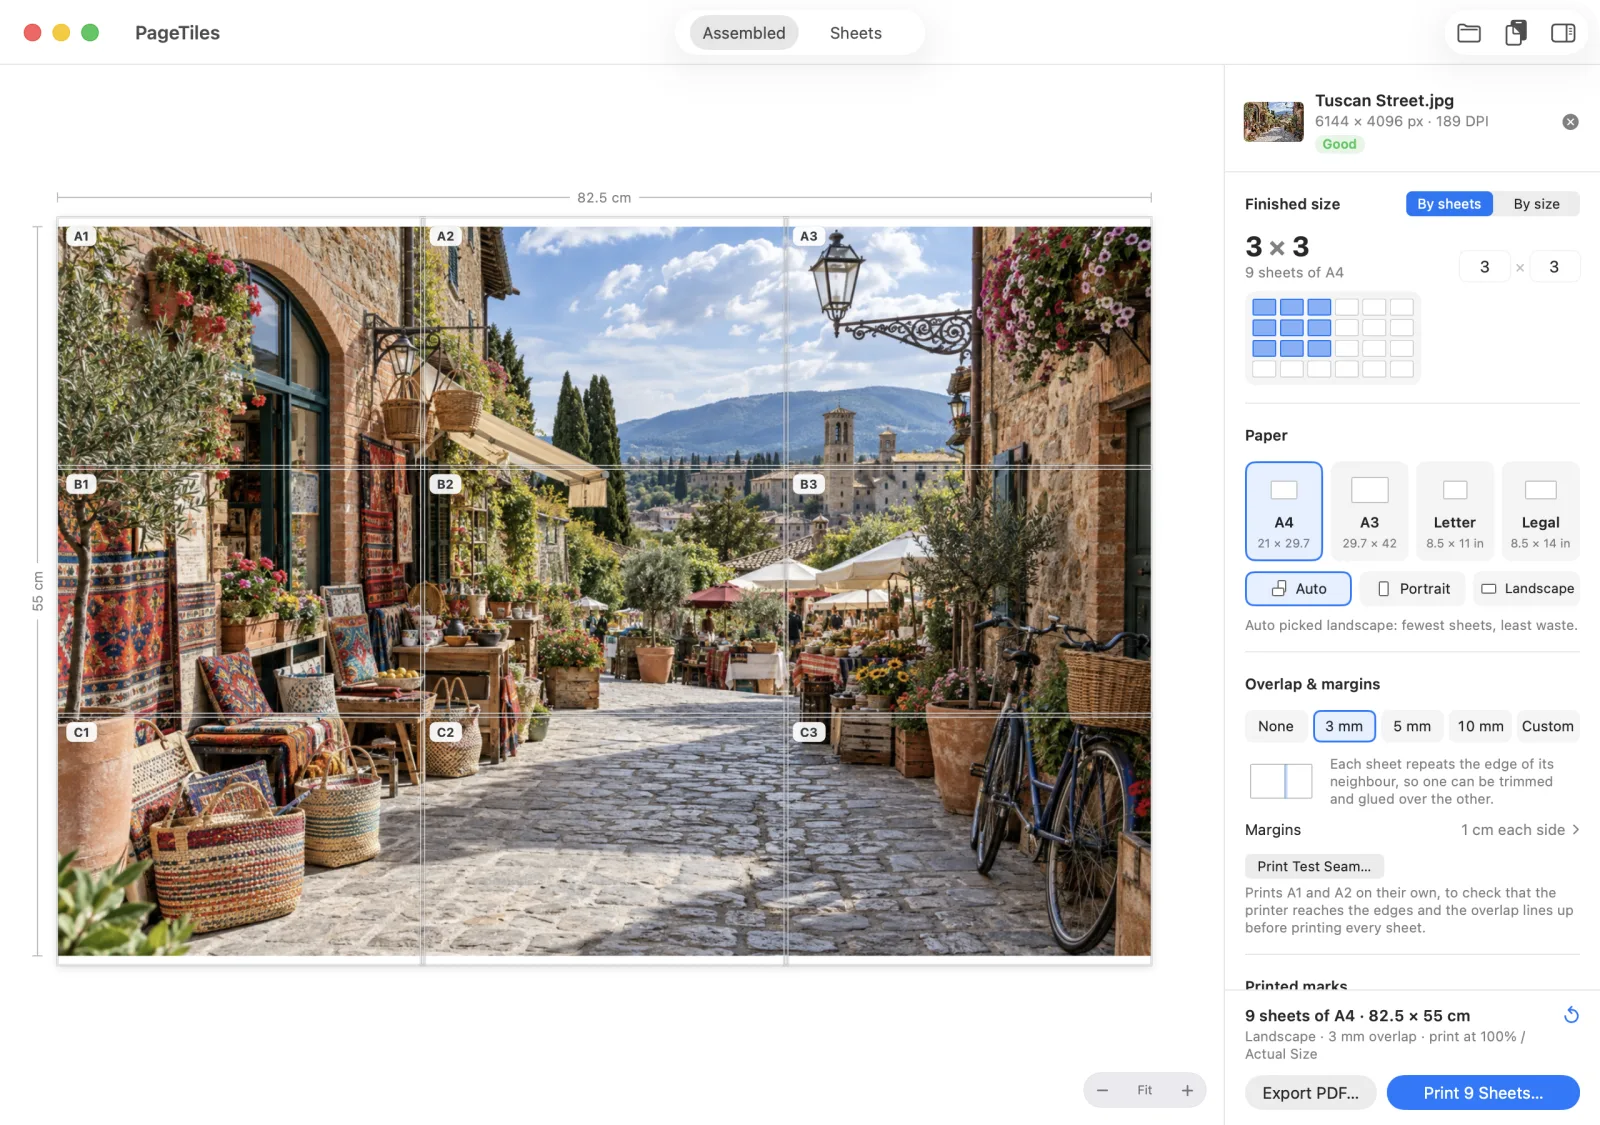
- Open the poster file in Page Tiles: a photo, a design exported from Canva or Keynote as PNG or PDF, or a page from a PDF.
- Set the size. Choose By size and type the width, for example 59.4 cm for A1. Or choose By sheets if you’d rather say “3 wide, 4 tall”.
- Leave orientation on Auto. It picks portrait or landscape sheets, whichever needs fewer.
- Pick 5 or 10 mm overlap and switch on cut marks, alignment marks and labels.
- Check the quality badge. Designs exported at a low resolution often read Blurry at poster size. Export again at a higher resolution, or as a PDF, which keeps text and shapes sharp at any size.
- Print Test Seam to check the first join, then print every sheet at 100%.
Get Page Tiles on the Mac App Store $2.99 one-time · macOS 12+
Make the seams disappear
- Overlap, not butt joins. Two paper edges pushed together always leave a gap or a ridge. Laying a trimmed edge over printed overlap hides it.
- Cut, don’t tear. A craft knife and a metal ruler give a straight edge that scissors rarely match.
- Glue stick on the overlap only. Wet glue cockles the paper. Tape from the back works for posters that come down again.
- Look at it from a distance. At two metres, the seams in a 9-sheet poster are much less noticeable. Up close, you will still find them.
Assembling a tiled poster goes through the order and the trimming in detail.
Posters for events, rooms and classrooms
Home-printed posters are a good fit for anything that’s up for days or weeks: party banners, a map for a trip, a timeline for a school project, a floor plan to scribble on. For a poster meant to last years, a print shop’s single sheet will outlive glued paper. For classrooms, printing classroom posters covers tables, charts and word walls. Matte is easier to assemble. Glossy paper shows each seam as a line of reflected light, and glue marks are easier to see. Plain 100 to 120 g/m² office paper or matte photo paper works well. Around the outside, yes: home printers can’t print to the paper’s edge. Trim the outer margins after assembling, or leave them as a frame. Inside the poster, the overlap covers the margins.Questions
Should I use matte or glossy paper?
Will my poster have white borders?